We’ve just released a new version of Zakeke, everything good is staying and we’re adding some features and some improvements to help make you even more successful with Zakeke. The release includes several bug fixings.
Our philosophy is to make simple what is not. We hardly worked and are working to make Zakeke experience ever simpler, faster and more intuitive.
Advanced Printing Methods, Show Design Size, Edit Print-File & New Bleed Line Settings
Your feedback is the best source of inspiration for Zakeke’s improvement. July update introduces new features that help you manage and set up your customizable products better and faster.
Advanced Printing Methods
Now you no longer have to create templates to set limits and preferences on product design. Now, you can do it by creating your printing method. If your customer can add text, with a simple click you can enable or disable all related functions: curved, bold, italic, uppercase, maximum number of text elements and so on. You can also choose the default color of the text to make it conform to your branding or disable the text alignment features by choosing only one.
The new TextBox feature will allow your customers to access text formatting features. By selecting TextBox, the text will not be only in a single line but will automatically wrap based on the size of the TextBox.
The disabled functions’ button will disappear from Zakeke’s front-end interface.
Visit the support page to learn more on Advanced Printing Methods. Click here.
Show design size
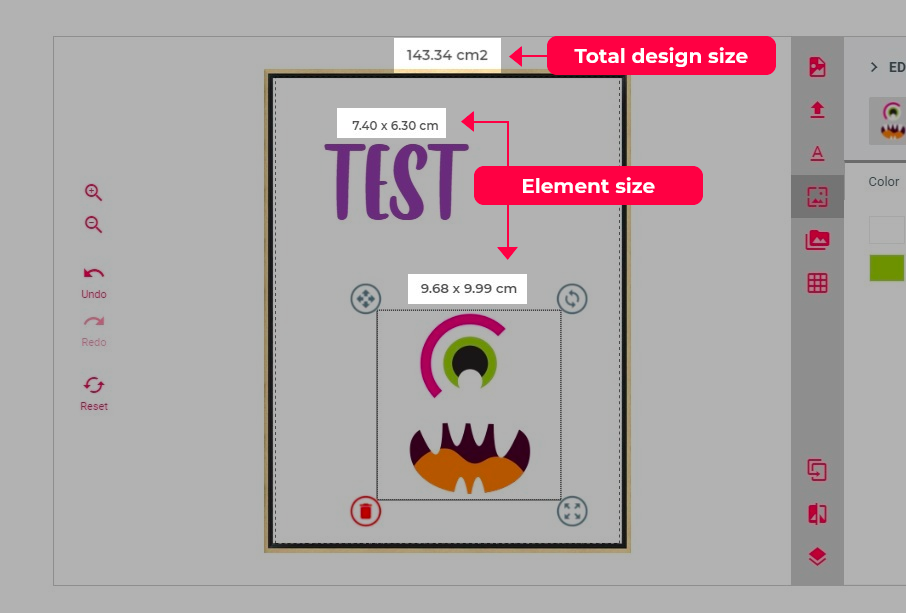
Now you can also define the maximum number of images that the customer can upload. Finally, you can show the dimensions of the print area and / or individual elements in the front-end. This is useful for sellers who have pricing rules based on the size of the print area.
Visit the support page to learn more. Click here.
Edit Print-File
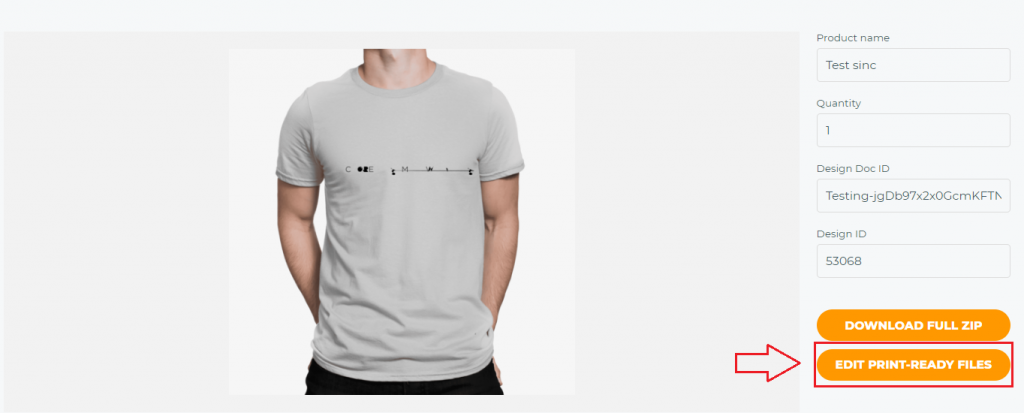
One of the most important new features is that now you can modify the print file directly in the back-office with an internal Customizer.
If your client makes a mistake and asks you for a change after the print file has been generated, you will no longer have to download the file and edit it outside Zakeke. You can do this directly in your back office. Once the design is corrected, Zakeke automatically creates a new print file that replaces the previous one.
How it works? Visit the support page here.
New Bleed Line Settings
We introduced a more professional concept of Bleed and Cut lines. Previously, you had to upload a .png file as a template to define cut / bleed lines. This file could not be read correctly by some plotters.
Now you can upload a pdf with different layers (Optional Content Groups) to automatically define the print area and import bleed lines and/or cut lines. Each layer can include vector path that can be used for cut lines and/or bleed lines (guidelines for your customer or for your production machines) in addition to the product image.
The print area is automatically calculated based on the information in the PDF. For example, if the PDF size is A4, the printable area will also be A4. However, it will be possible to use one of the paths imported from the PDF layers as the crop area of the design viewed by the user.
You can define the line colors and the color formats (Spot color, PANTONE, CMYK), so that your machines can correctly read the file.
The tool is flexible. This means that you can make bleed/cut lines visible in the front-end or not, or visible but absent in the print file and so on.
The final PDF for printing will be generated by overlapping the layers contained in the uploaded PDF including the design created by the user.
Learn how to add Cut/Safety/Bleed Lines to your Customizable Products here.
Just a click to duplicate a configured product
Zakeke infrastructure is complex, but its use is simple. Back-office is now faster. Just a click to duplicate a product you already set and configured. This is a time-saver and lets you focus on other activities.
If you’ve already set up a product and most of the settings can apply to another product in your catalog, you can transfer those settings to it in few seconds. Click duplicate and choose a new product on the store. In so doing, you don’t have to set everything up from scratch. Just change only the different aspects.
For example, if you have configured a shoe and you want to carry the same settings (fabric, colors, etc.) on a bag, all you have to do is change the 3D model. A nice time saver, isn’t it?
We thank you for your trust and for your feedback which helps us offer you always the best solution. Many amazing surprises will arrive in the next months.
Click here to learn how to duplicate 3D Product.
Stay up to date and follow us on LinkedIn, Facebook and Instagram.


